The Intel Supplier Presence Site has two types of account registration:
| Standard Registration/Web Suite | Web Suite Lite |
Provides full access to applications and data.
|
Limited access to applications and data.
|
| For suppliers receiving more than 25 purchase orders/year from Intel. | For suppliers receiving less than 25 purchase orders/year from Intel. |
Registration requirements:
|
Registration requirements:
|
| Step | Action |
| 1 |
Go to Supplier.intel.com
|
| 2 |
Click Register  button. button.
|
Result: The Registration page will be displayed.

|
|
| 3 |
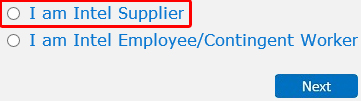
Select I am Intel Supplier option.
|
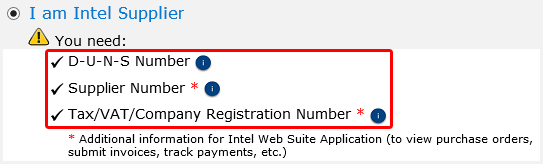
Note: It is advisable for applicant to prepare the necessary information beforehand.
|
|
| 4 |
Click Next  button. button.
|
| Result: The Get Started page will be displayed. | |
| Note: It is advisable to read through the registration process guide. | |
| 5 |
Click Next button.
|
| Result: The Enter D-U-N-S page will be displayed. | |
| 6 |
Enter valid D-U-N-S number.

|
| Note: It is advisable to check with your HR/Finance department before escalating any D-U-N-S related issues to Intel’s Purchasing Service Desk. | |
| 7 |
Click Next button.
|
| Result: The Application Selection page will be displayed. | |
| 8 |
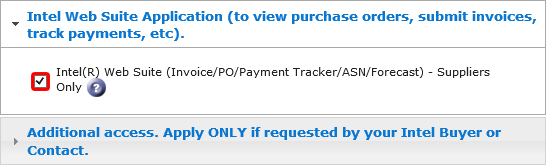
Select the check box next to the application you need to have access to.
|
Notes:
|
|
| 9 |
Click Next button.
|
| Result: The Enter your Information page will be displayed. | |
| 10 | Enter valid information. |
Notes:
|
|
| 11 |
Click Next button.
|
| Result: Your request will be routed to your company’s Employee Validation Manager (EVM) for approval. |